

Visible screen snapshots are crucial and user-friendly in the dynamic digital environment of macOS. The capability to capture and distribute such snapshots is critical. The process of capturing screenshots on a Mac provides a variety of options to accommodate various purposes, such as documenting software bugs, creating tutorials, or simply preserving moments. The macOS ecosystem’s use of adaptable built-in tools and simple keyboard shortcuts makes it possible to acquire and manipulate screenshots, which is a crucial component of the Mac user experience. This preface will explore the diverse techniques at one’s disposal, demonstrating how individuals with Macs can capture, modify, and distribute their screen content with accuracy and simplicity. In this article, you read all about how to screenshot on Mac.
Screenshot on Mac: What Is It?
To perform a screenshot on a Mac, one must visually capture an image that depicts the current screen or a designated region thereof. Documenting software problems, producing educational materials, and preserving digital moments are all critical applications of this function. Multiple in-built methods for capturing screenshots are available in macOS, each of which offers versatility and usability.
Users frequently use keyboard shortcuts to capture custom-selected areas, the entire screen, or particular windows. In addition, the Grab application provides more sophisticated features, including timed captures and cursor selection, and is part of a comprehensive set of tools within the macOS ecosystem.
Users can enhance the obtained screenshots through the utilization of the Preview application, which enables annotations and the addition of text, shapes, or highlighting. Taking screenshots on a Mac is a flexible and user-friendly process that contributes to an improved user experience and enables efficient communication via visual depictions, owing to the capability of capturing such images.


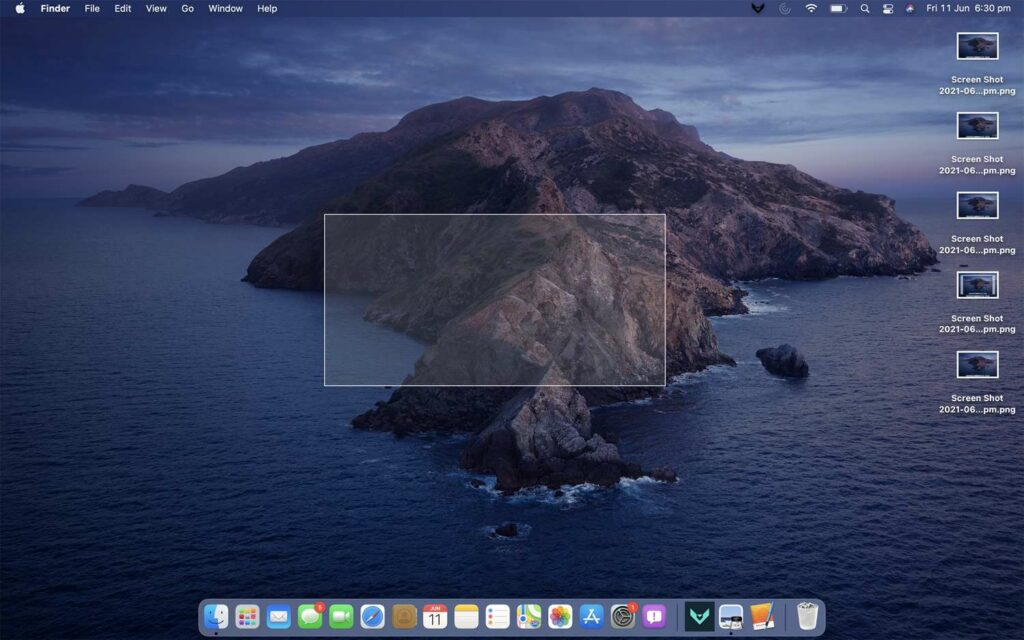
Use your Mac to capture a screenshot
A segment of the screen, the entire display, or a specific area can be captured.
Utilizing a Mac to capture a screenshot
- Press and hold the Shift, Command, and 3 keys simultaneously to capture a screenshot.
- To edit a screenshot, select the icon that appears in the corner of the display. Conversely, one may opt to await the desktop as the screenshot is saved.
Capturing a segment of the display
- Hold down the Shift, Command, and 4 keys simultaneously.
- To select a region of the display for a capture, move the crosshair. By holding down the space bar while dragging, the selection can be moved. Utilize the Esc (Escape) key to prevent the screenshot from being captured.
- By relinquishing the mouse or trackpad button, a screenshot can be captured.
- To edit a screenshot, select the icon that appears in the corner of the display. Conversely, one may opt to await the desktop as the screenshot is saved.
Capturing a menu or display
- Launch the requested window or menu capture.
- Shift, Command, 4, and the Space bar are the symbols that should be held down simultaneously. An icon representing a camera will replace the pointer. Utilize the Esc (Escape) key to prevent the screenshot from being captured.
- To save an image, select the window or menu. Press and hold the Option key while clicking to omit the window’s shadow from the captured screenshot.
- To edit a screenshot, select the icon that appears in the corner of the display. Conversely, one may opt to await the desktop as the screenshot is saved.
Where can screenshots be located?
- Through the default setting, screenshots will be saved as “Screen Shot [date] at [time].pNG” to your desktop.
- The default location for stored screenshots can be modified from the Options menu within the Screenshot application on macOS Mojave and thereafter. Additionally, the icon can be dragged to directories or files.
Screenshot on Mac: How to Crop
On a Mac, cropping screenshots is possible via a variety of built-in and third-party applications. This guide makes it easier to initiate. Understanding the process of cropping a screenshot on a Mac is essential if you wish to capture an image of an active application while excluding the toolbar or menu bar. A plethora of methods exist for capturing screenshots on a Mac, encompassing both pre-installed and downloadable alternatives.
These comprise techniques for cropping undesirable peripheries, applying filters to enhance the image, and implementing more sophisticated modifications. The following steps must be taken to crop a screenshot on a Mac.
MacBook Screenshotting: Essential Keyboard Shortcuts
- Taking a new screenshot may be a prerequisite for understanding the process of cropping an existing one.
- Although several keyboard shortcuts exist, employing one of them is the most expedient method for capturing screenshots on a Mac. Utilize the built-in screenshot cropping utility in macOS Mojave and later crop screenshots in real-time.
Utilize the following keyboard shortcuts to capture screenshots:
- Perform a full-screen screenshot: Command plus Shift plus 3
- Screen portion capture: Keys plus Shift plus Four
- A window or menu can be captured. Space bar plus Shift plus Command plus 4
Mac Screenshot Cropping Instructions


Optimizing Screenshots with the Integrated Cropping Tool
Possibly the most effective way to crop a screenshot on a Mac is by utilizing the newly integrated utility.
A floating thumbnail will appear in the lower-right quadrant of the screen promptly following the capture of a screenshot in macOS. The cropping utility is displayed when the thumbnail of your screenshot is selected. The thumbnail will vanish and you will be unable to utilize the utility if you do not click on it within a few seconds. It is not possible to extend the time remaining before it disappears.
Use this instrument to perform a crop:
- After capturing a screenshot, select the crop icon in the upper-right corner.
- Preferentially retain the specified region of the screenshot.
- Finally, click the Done button.
Employing Preview:
- MacOS launches the Preview application by default when an image is double-clicked. One can efficiently compress screenshots by utilizing this application.
Utilizing Preview to crop a screenshot:
- To launch the Preview application, double-click an image in Finder.
- In the upper-right corner, click the pencil-shaped icon labeled “Show Markup Toolbar.”
- To retain a specific area, utilize the click-and-drag functionality.
- Select Tools from the menu bar.
- Choose Crop from the menu that appears.
Implementing Photos:
- For managing images on macOS, utilize the Photos application. Utilizing it as a rudimentary photo editing application on a Mac enables one to efficiently crop screenshots.
- This, however, requires that you first save the screenshot to your Mac.
To modify screenshots using the Photos app:
- Select File > Import after launching Photos.
- To modify a screenshot, choose it.
Engage Import:
- Press Edit (upper-right) after performing a double-click on the imported image.
- Make use of the crop icon located at the top.
Solutions from a Third Party
By browsing the App Store’s Photo & Video section, you can become acquainted with a variety of third-party applications that enable image editing. Adobe Lightroom, Pixelstyle Photo Image Editor, Adobe Lightroom, and others are among these. Online, comparable applications can also be found. How each third-party photo-editing application handles cropping varies marginally.
For illustration, let us examine the cropping functionality of the Polarr Photo Editor. Use Polarr Photo Editor to modify screenshots by doing so:
- Navigate to File > Open.
- To edit an image, choose it.
- A trim icon can be found on the left.
- A region to be saved must be selected.
- For the image to be saved, click the Save Photo icon.


Utilizing a Mac to Edit Screenshots
On a Mac, there are numerous methods for cropping a screenshot, including the use of third-party applications and in-built tools. Capturing photographs is possible with more sophisticated image manipulation software, such as GIMP or Photoshop. One may also consider utilizing web-based tools; a brief search on Google will yield these results, although Footor, PicResize, and PiZap are particularly noteworthy.
- Syntax keys for capturing screenshots on a Mac
- Full-screen screenshot via Command + Shift + 3
- Cropped screenshot: Command + Shift + 4
- Take a screenshot of the active window with Command + Shift + 4, followed by Space, and then Enter
- Record a portion or the entire screen by pressing Command + Shift + 5.
You desire a screenshot of perusing. Our preferred application is CleanShot X. A keyboard shortcut can be assigned to the dedicated tool that facilitates the browsing of screenshots. Additionally, shortcuts for numerous other screenshot options, such as capture and annotate, capture and upload to the cloud, and so forth, can be created within the application.
The conceal desktop icon utility, however, is unquestionably our favorite feature of CleanShot X. It completely conceals desktop debris without requiring any physical relocation.
A Macintosh guide to cropping a saved screenshot
Following its saving, how does one crop a screenshot on a Mac? Alternatively, you can modify your screenshot using third-party applications such as Capto or CleanShot X, or utilize the Photos or Preview installed on your Mac.
An examination of the CleanShot X workflow shall ensure:
- Open by selecting the application’s icon from the menu pane.
- Double-click the file to access the screenshot in the pop-up navigation window, which is frequently on the desktop.
- In the CleanShot X window, locate the crop icon in the upper right corner.
- Click Crop > Save As > Save after modifying the crop.
Want to better organize the numerous images you’re taking? You can watermark, resize, and rename your screenshots en masse with the help of PhotoBulk.
Utilizing online tools to trim a screenshot
Having examined methods for cropping screenshots on a Mac, we shall now examine the corresponding utility available in your webpage browser.
At the moment of writing, iloveimg provides a user-friendly image cropping tool at https://www.iloveimg.com/crop-image: For the most recent results, we prefer to conduct a simple search on the finest cropping tools.


Utilizing Online Tools to Crop a Screenshot on Mac
Although utilizing the built-in applications and shortcuts is a simple process, they may not satisfy the needs of every user. A lack of sophisticated features may prove to be an inconvenience, given that Mac only includes the most fundamental capturing tools. The primary reason you require an online application is because, for instance, the image resolution and format cannot be modified at will.
By permitting the modification of parameters, this online screenshot application is more flexible than the default tools provided by Mac. Device, platform, browser, resolution, and image format are a few of the options provided by this online application. The fact that this utility is, nevertheless, limited to capturing web pages cannot be disregarded.
Screenshot on Mac: How to Take One
- Visit the online screenshot page.
- Insert the URL of the desired webpage into the text field.
- Modify the configurations to suit the specific circumstances at hand.
- Obtain a screenshot of the webpage by clicking the “Capture” icon. To save the screenshot to your Mac, click the “Download” icon.
The entire webpage is now captured as a screenshot. How can a screenshot be cropped online on a Mac? Online image editors, including PicResize, are also quite useful.
Use the online image editor’s webpage as the initial step.
- Select the screenshot you wish to crop by clicking in the page’s center.
- Modify the tools located on the left-hand side to adjust the image’s orientation, crop, or reverse it as desired.
- “I’M DONE, RESIZE MY PICTURE!” is the text where the icon is located. To crop a screenshot online, simply click on the image.
- Evernote Skitch: Skitch, a free, multipurpose editing application that is a member of the Evernote family, facilitates the resizing and cropping of screen captures and includes an abundance of interactive features, such as watermarking and image annotation. Here is the app store page from which you can obtain it.
- Snagit: You can rapidly capture snippets from presentations, videos, and more using Snagit, an additional useful capture tool. Despite receiving high praise as a preferred screen capture snipping tool, it is not free. At approximately €50 per license, it is relatively expensive in comparison to the excellent free alternatives; however, it is still noteworthy to mention.
- Hero Markup: Markup Hero is another favorite. It boasts a streamlined interface that enables effortless creation of modifiable screen captures and is available for use without the need for registration. The pricing structure of Markup Hero varies by user, with a free version and multiple tiers available.
- FlySketch: With a multitude of annotation options, AirSketch is a quick and uncomplicated screen capture application. The free version fully supports basic screen capture and editing functions. A pro edition is available for a fee and includes an extensive selection of additional features.
In summary,
After the macOS ecosystem, the capability to capture images on a Mac has been demonstrated to be an indispensable and intuitive component. Mac users can effortlessly capture and document their digital experiences through the use of a wide range of built-in tools and keyboard shortcuts. These capabilities extend to tasks such as troubleshooting, creating educational content, and documenting memorable moments. The ability to edit and annotate obtained images, as well as the seamless integration of screenshot functionalities, increase its versatility and accessibility. This contributes to an improved user experience.
Questions that are Frequently Asked (FAQ):
On a Mac, how do I fully capture the screen?
To capture the complete screen, press “Command (↢) + Shift + 3.” By default, a desktop copy of the screenshot is created.
Does a Mac support capturing a particular region of the display?
To capture a specified area, indeed, press “Command (↢) + Shift + 4” The screenshot is saved to your desktop after you select the desired region via drag-and-drop.
The location of stored screenshots on a Mac is unknown.
Desktop storage is the default location for screenshots. However, there are specific commands in the “Terminal” application that can change the default save location.</p>
On a Mac, is there an integrated application that provides more sophisticated screenshot options?
Indeed, sophisticated features such as timed recordings and the capability to select specific cursors are available in the “Utilities” folder’s “Grab” application.
Can photos be edited and annotated on a Mac model?
Certainly not. Before sharing or saving captured screenshots, utilize the “Preview” application to modify, annotate, and add text to them.
Do screenshots on a Mac require the use of third-party applications?
Although macOS includes a range of powerful built-in tools, certain users may find more functionality in third-party applications. Nonetheless, the majority of users can capture and edit screenshots with sufficient functionality using the built-in tools.