

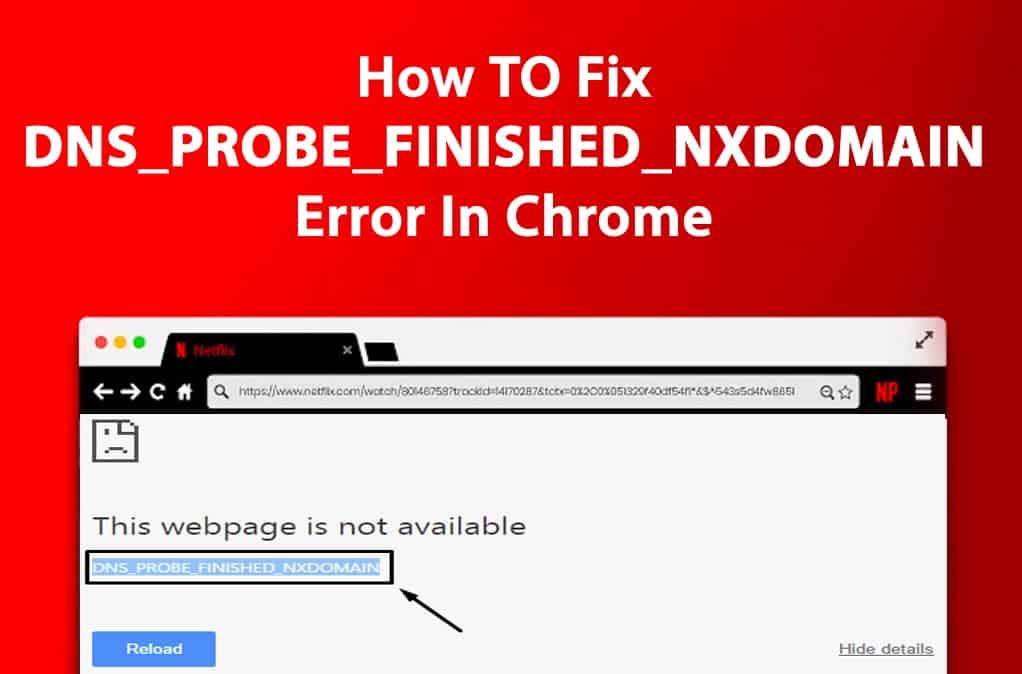
Chrome Browser sometimes gives out an error message reading ‘This Webpage is Not Available’ due to DNS PROBE FINISHED NXDOMAIN Error. You’ll find below the simple steps to fix this error or bug on your computer.
DNS_PROBE_FINISHED_NXDOMAIN Error in Chrome
Once you try to access a site by typing its name, the web browser on your PC takes the help of a DNS Server to find the IP Address of the website you’re trying to access.
For instance, if you type YouTube in a Chrome browser, the DNS server automatically supplies Chrome with the IP Address (216.58.218.110) of this website.
However, sometimes the DNS Server fails to offer Chrome with this information, which results in DNS Failure bug messages.
Moreover, the Error code DNS PROBE FINISHED NXDOMAIN is trying to tell you that DNS Lookup failed once the Chrome browser tried to access the web page that you were trying to access.
So without further ado, let’s take a glance at the steps to Fix DNS PROBE FINISHED NXDOMAIN Error on your computer.
Fix: DNS PROBE FINISHED NXDOMAIN Error
1. Clear Chrome Browser Cache
1. Firstly, open Google Chrome Browser on your computer (In case you’re not already there).
2. Tap on 3-dots Chrome Menu Icon > hover your mouse on More Tools and tap on Clear Browsing Data… option.
![]()

3. Afterward, choose All Time as the Time Range and tap on the next screen’s Clear Data button.
![]()

Note: You can deselect items if you want to retain certain sorts of browsing data on your PC.
2. Flush DNS Cache
Follow the easy steps below to Flush the DNS Cache on your computer.
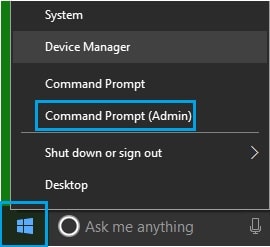
1. Right-click on the Start button, then tap on Command Prompt (Admin).

2. On Command Prompt window, Now type ipconfig /flushdns and press the enter key.
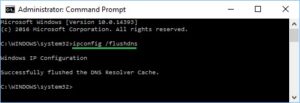

When this command is executed, then try to open the webpage that you were trying to access.
This time, you should reach the site without encountering any error or bug message from the Chrome browser.
3. Reset Network Adapter (Winsock Reset)
Follow the below steps to Reset the Network Adapter on your Windows 10 computer.
1. At first, right-click on the Start button and tap on Command Prompt (Admin).


2. On the Command Prompt window, now type netsh winsock reset and press the Enter key.
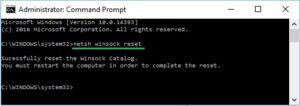

3. After that, you need to Restart your computer for this change to be implemented.
ALSO SEE:
4. Switch to Google DNS
If you’re frequently experiencing slowdowns & Error Messages, you can consider the option of switching to Google DNS or OpenDNS.
Both Google & OpenDNS are highly trustworthy and are likely to be faster than the DNS Servers used by your Internet Service Provider.
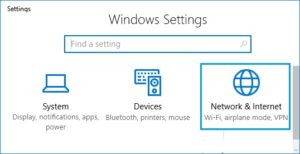
1. Open Settings > tap on Network & Internet.

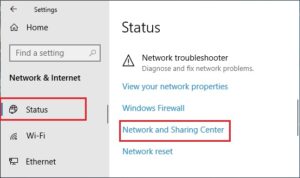
2. On the next screen, now scroll down and tap on the Network & Sharing Center link.

3. On the Network & Sharing Center screen, tap on your Wi-Fi Network Name.
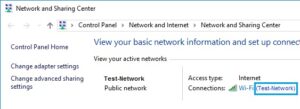

4. Afterward, on the next screen (Wi-Fi Status), tap on the Properties option (See image below)


Important: You may be prompted to enter your Admin Password if you’re not logged in with your Admin Account.
5. On the Wi-Fi Properties screen, choose Internet Protocol Version 4 (TCP/IPv4), then tap on the Properties button.
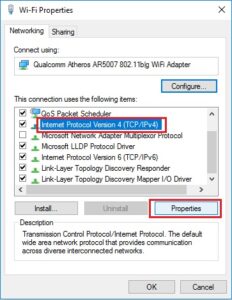

6. Now, on the next screen, choose to Use the following DNS server addresses option, then enter 8.8.8.8 in the box next to Preferred DNS Server and 8.8.4.4 in the box next to Alternate DNS server.
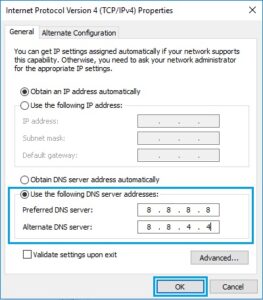

7. After that, hit OK to save the new DNS Server settings.
Final Words
So, with the above steps, I sincerely hope you have successfully changed the DNS Server on your PC to Google DNS.
Necessary: If you wish to use OpenDNS, type 208.67.222.222 in the Preferred DNS server box & 208.67.220.220 in the Alternate DNS Server box.