


Our smartphones are no longer just for sending text messages and making routine calls. Many people use their mobiles to watch and enjoy movies on Netflix or other media streaming services, listen to music through YouTube or radio, & chat on social media, among other activities.
However, one of the universal tasks we all do on our mobiles is to get location-based info. It includes getting directions to a place we are not familiar with, looking up travel times, & finding recommendations for places to visit.
It presents the best opportunity for businesses to help customers find your business and local search engine optimization (SEO).
Google Maps & Apple Maps are among the best and most famous navigation apps used frequently by smartphone users globally. In case your business is not on either of these apps, you are losing out on online & foot traffic. These apps present the best opportunity to put your business in front of customers at critical or essential purchasing decision points.
Here is how you can add a business to Google Maps & Apple Maps.
How To Easily Add a Business To Google Maps
More than 1 billion folks use Google Maps to find local businesses within their locality. If your business is not listed yet, you can add it to Google Maps via Google My Business and ensure it shows up during local Google searches.
Google My Business assists you in managing how customers find & view your business in Google Maps. It even boosts your local SEO.
Note: You do not need to have a site to list your business in Google Maps. However, a website provides you with even more visibility in Google’s local search results to enhance your sales chances.
1. To get begins, visit Google My Business and tap Sign In. You can use the Google account, which you use for Google Drive or Gmail, to log-in.


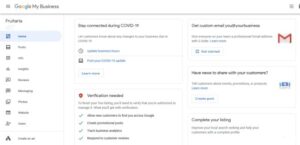
2. Tap Manage now to check in case your business is already listed.


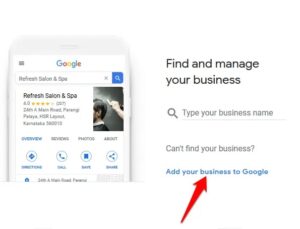
3. If your business isn’t there, tap Add your business to Google.

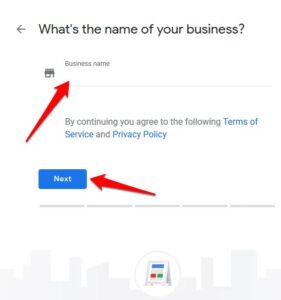
4. Enter your business name and tap Next.

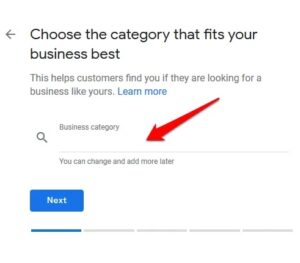
5. Choose the appropriate primary Google My Business category that your business sits in. When you set up your account, you can even add subcategories.

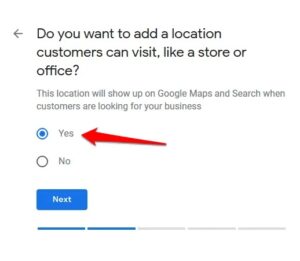
6. Choose whether you wish to add a location – store or office – for your business.

7. Add the business address.
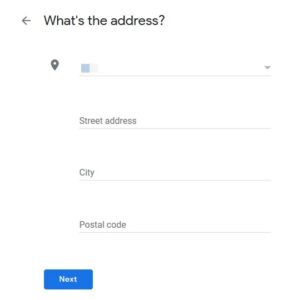

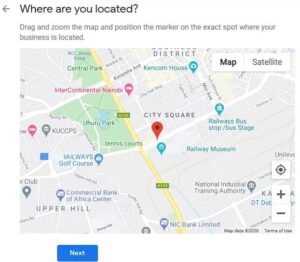
8. And add a map marker for your business.

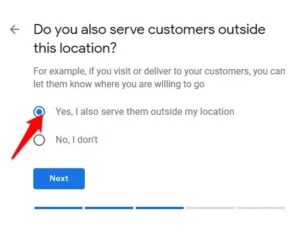
9. Now confirm whether you serve customers outside your location.

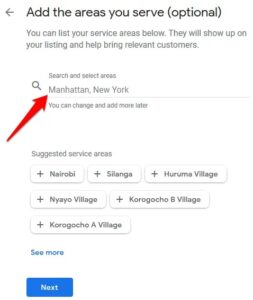
10. Choose the business areas you serve.

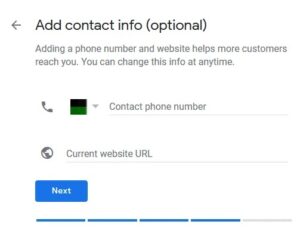
11. Add contact info and then choose whether you want to receive Google updates & recommendations for your business.

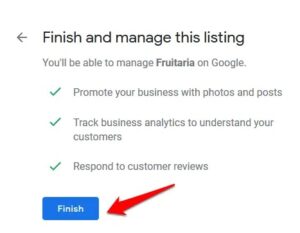
12. Tap Finish to save the listing.

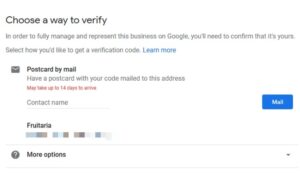
13. Select a way to verify your business.

14. Add business hours.


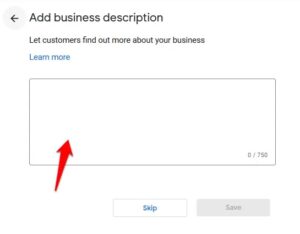
15. Afterward, add a business description and any other essential information.

16. Add business photos.


17. When Google verifies your business, you can go to the dashboard and edit or add any other info. You will receive a confirmation email so customers can find your business on Google & its related platforms.

How To Easily Add a Business To Apple Maps
Apple is specifically focused on building next-generation maps with faster load times, more detail, & better accuracy to find their way around different locations.
Adding your business to Apple Maps, meaning that more local customers are delivered straight to your doorstep, and you also gain more market share over your competitors. Additionally, with the Apple Maps Connect self-service data entry portal, you can add your company’s website URL & social media pages to your business profile as well.
1. To list your business on Apple Maps, simply visit the Apple Maps Connect page and tap the Sign In button. You will require an Apple ID to sign in, so if you do not have one, you can tap on the Create One link just below the Sign In button. It is free to register, and it will only take a couple of minutes to complete.
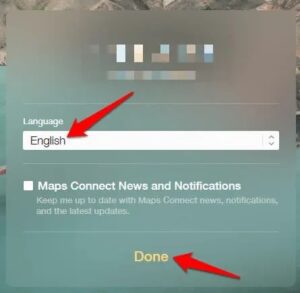
2. Next, choose your Language and then tap Done. At this point, you can even opt-in to receive info from Apple Maps as this may contain essential information & updates.

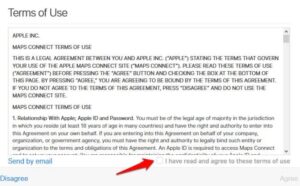
3. So, agree to Apple’s terms of use for the Apple Maps app.

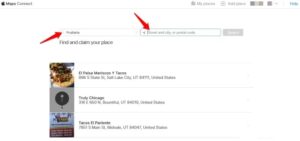
4. Now enter the business name & address (Street, city, or postal code), find your business name from the list, and tap on it. At this point, you probably want to cross-check and confirm that your business has not been listed before to avoid double listings. It probably confuses potential customers & ends up costing you business.

5. After that, click on your business to see the full profile, then tap the blue Claim this place button to claim your business. If you do not see your business from the results, tap Add a new place to create a new business listing.
6. Enter the correct details about your business & other important information. Make sure the info is accurate, current, relevant, factual, and keyword-rich. Include your business address, business hours, & associated social media accounts.
7. After that, set your map marker by confirming your exact location on Apple Maps. Point to the same location & building to help customers come directly to your store or business without facing any issues.


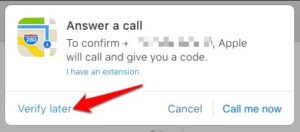
8. Verify that it is your business. Apple will contact you on the business mobile number you entered in the previous step to give you further information about your claim. You can always verify later if you are not ready to do it instantly.

Get Your Business Noticed
So, whether you’re selling a service or a product, adding a business to Google Maps & Apple Maps can make the distinction between making sales or losing out on potential foot traffic. I sincerely hope you could list your business on either platform using the steps described in this guide. Do share your experience in the comments section.